loading...
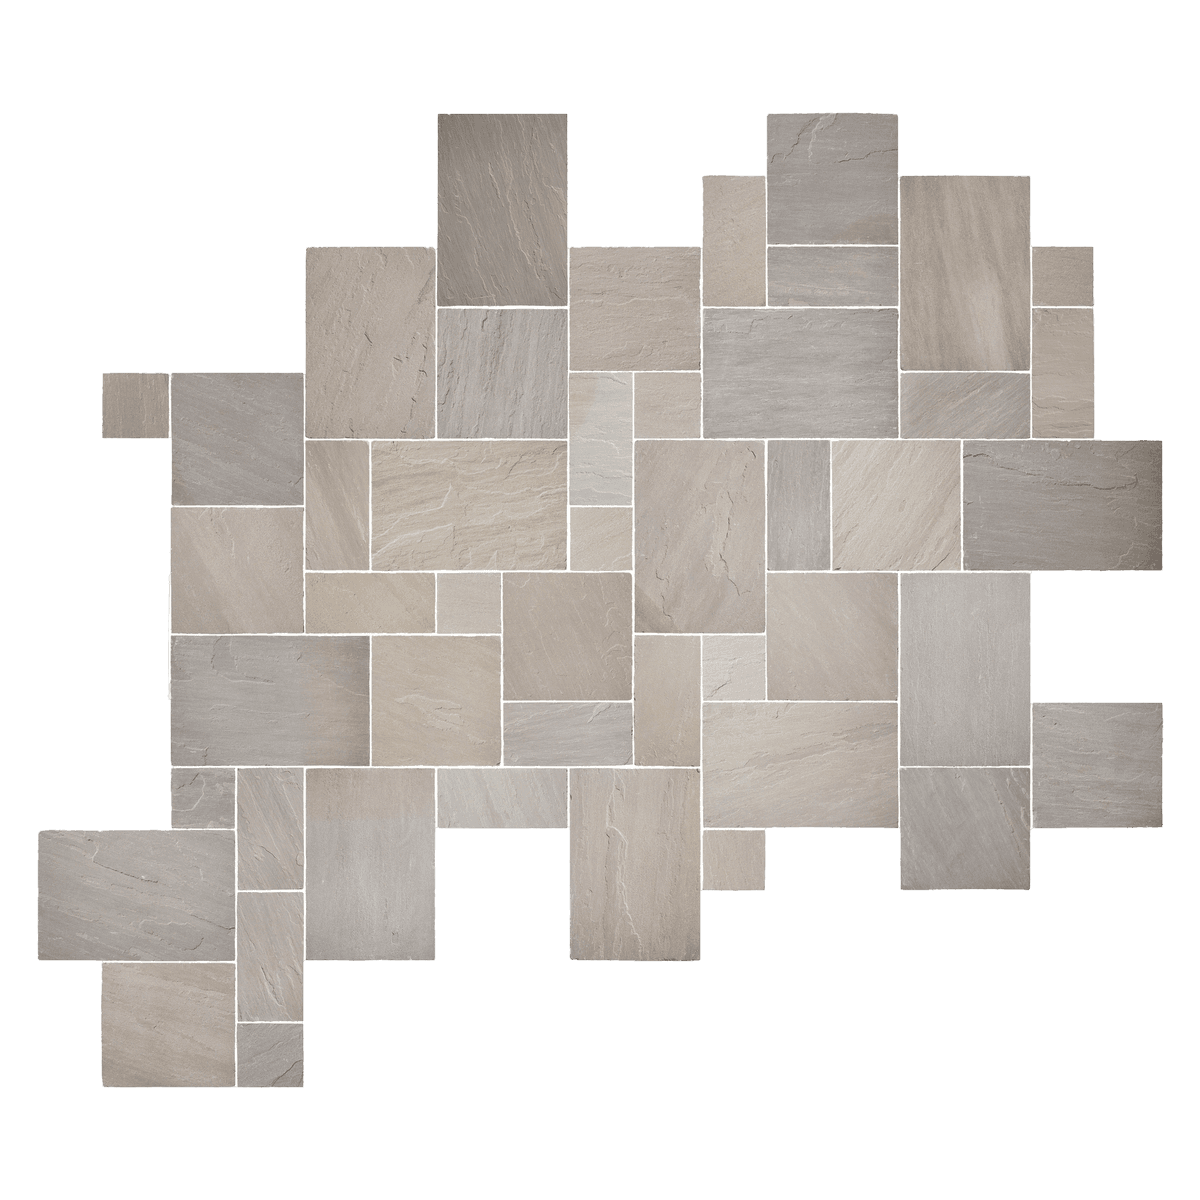
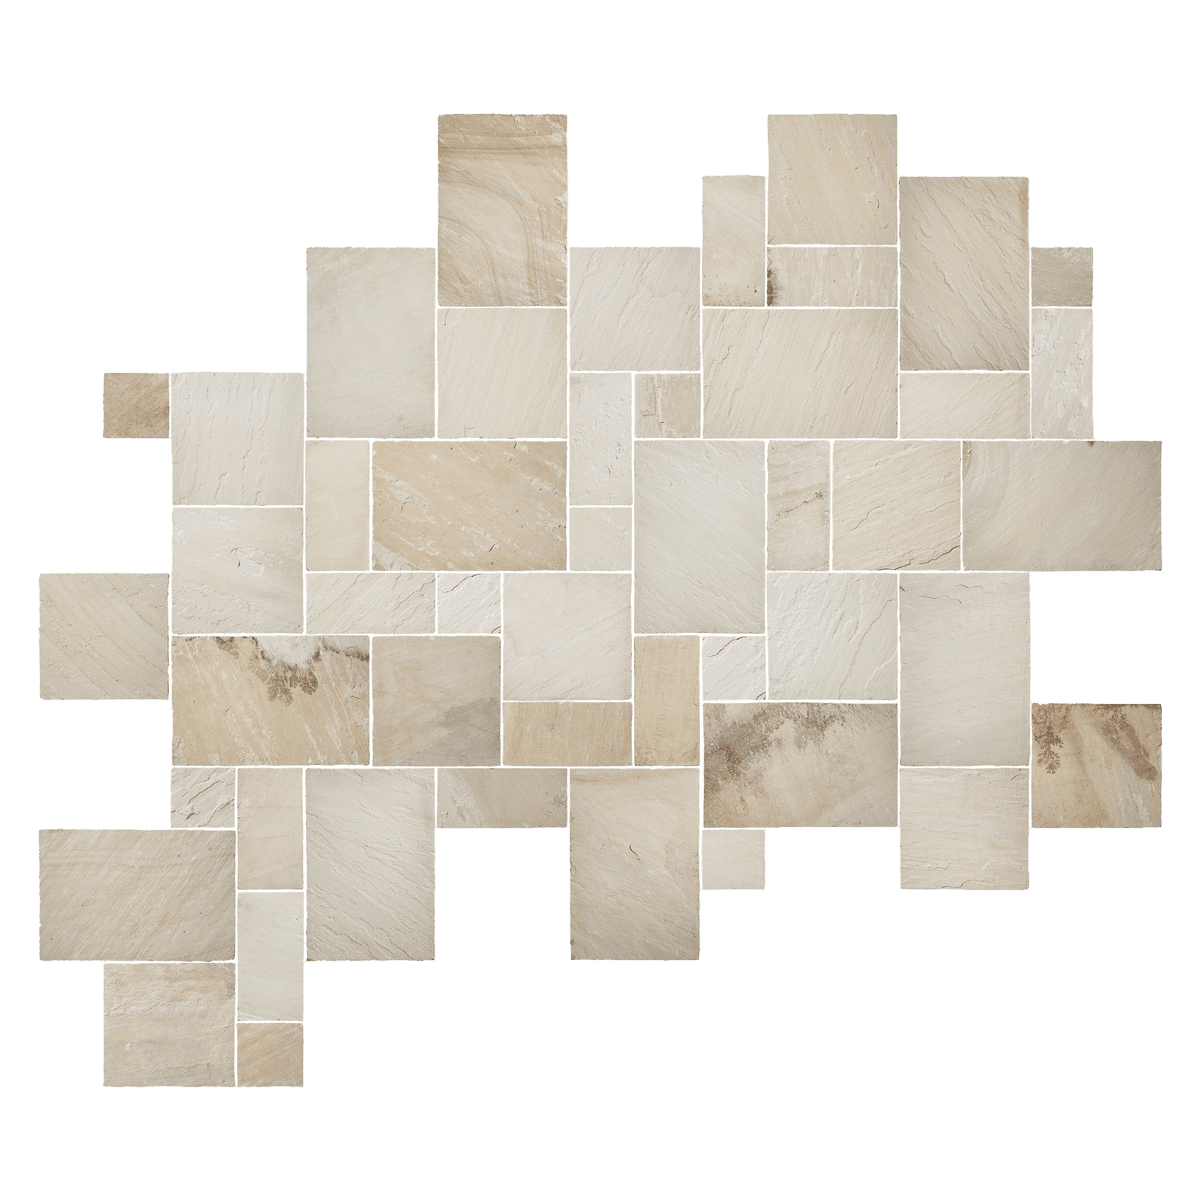
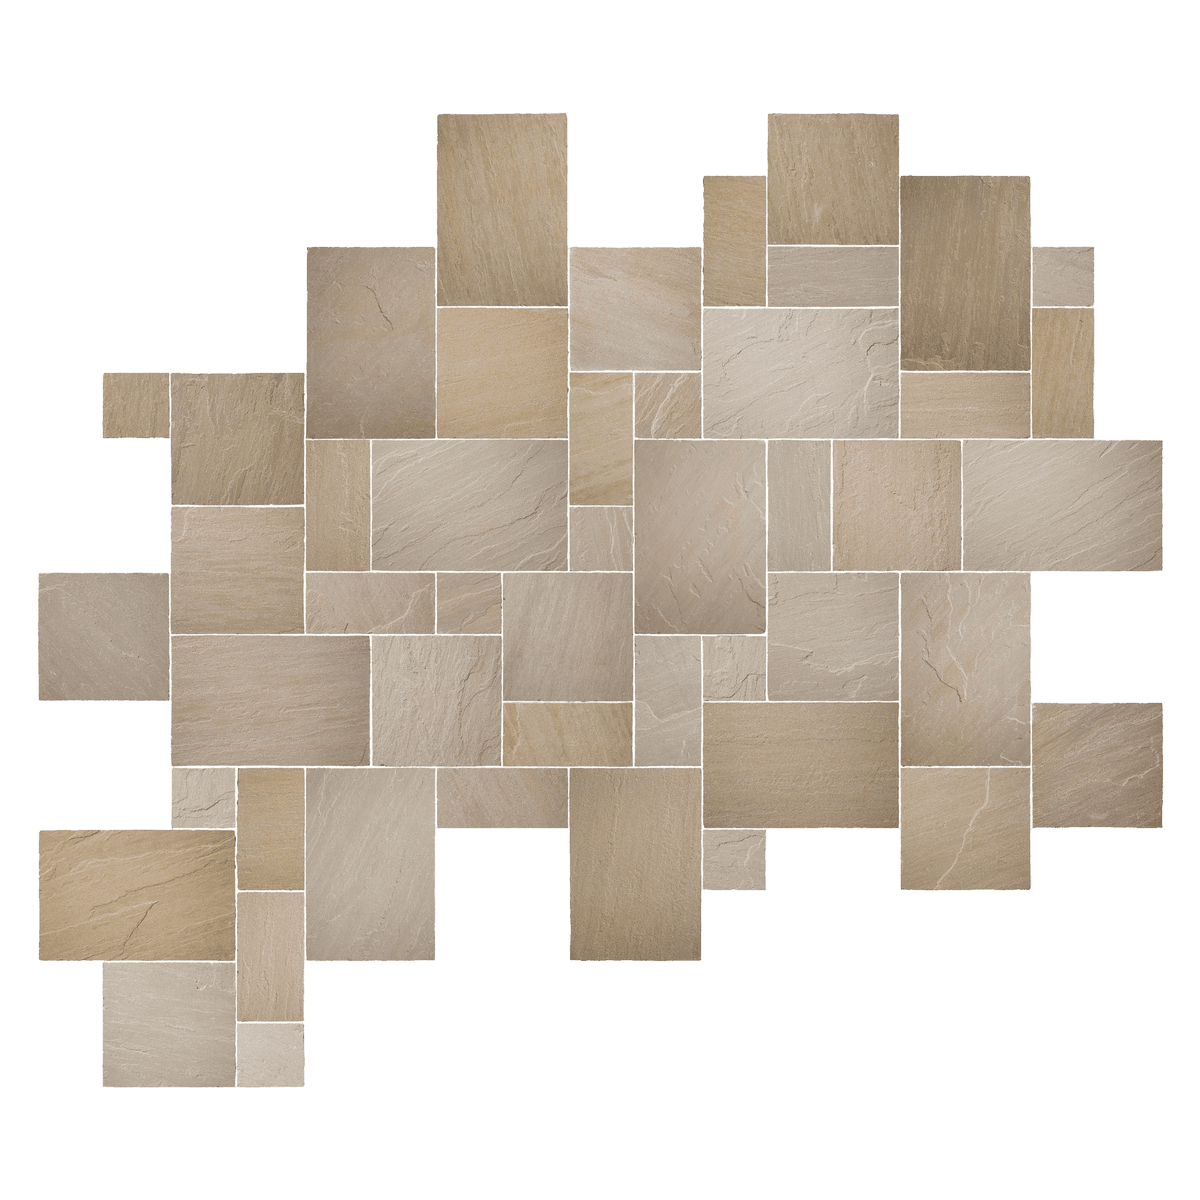
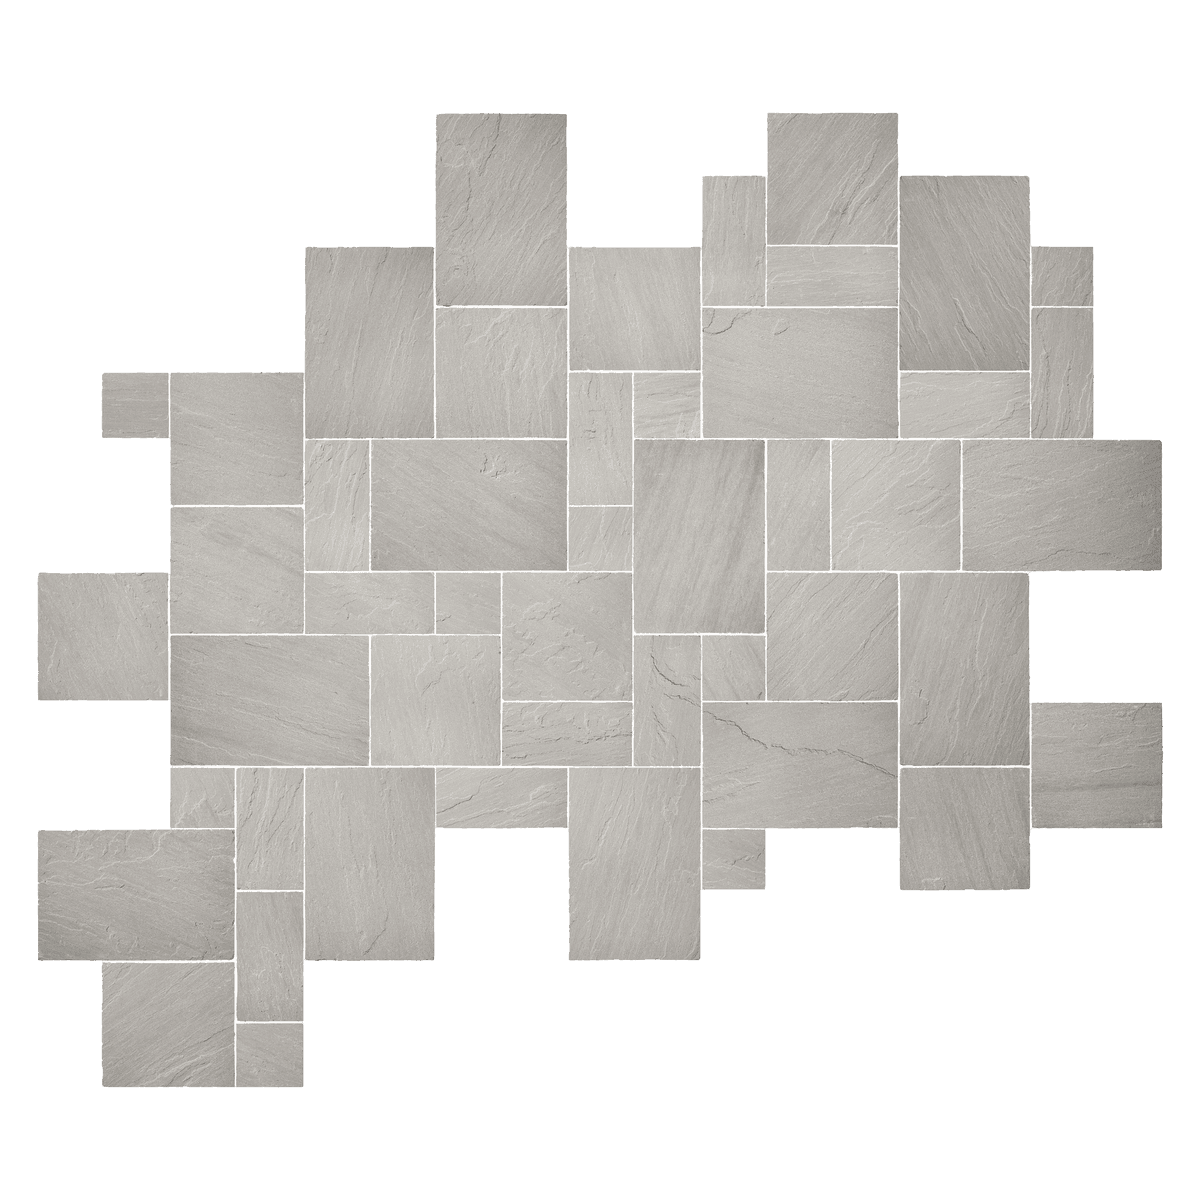
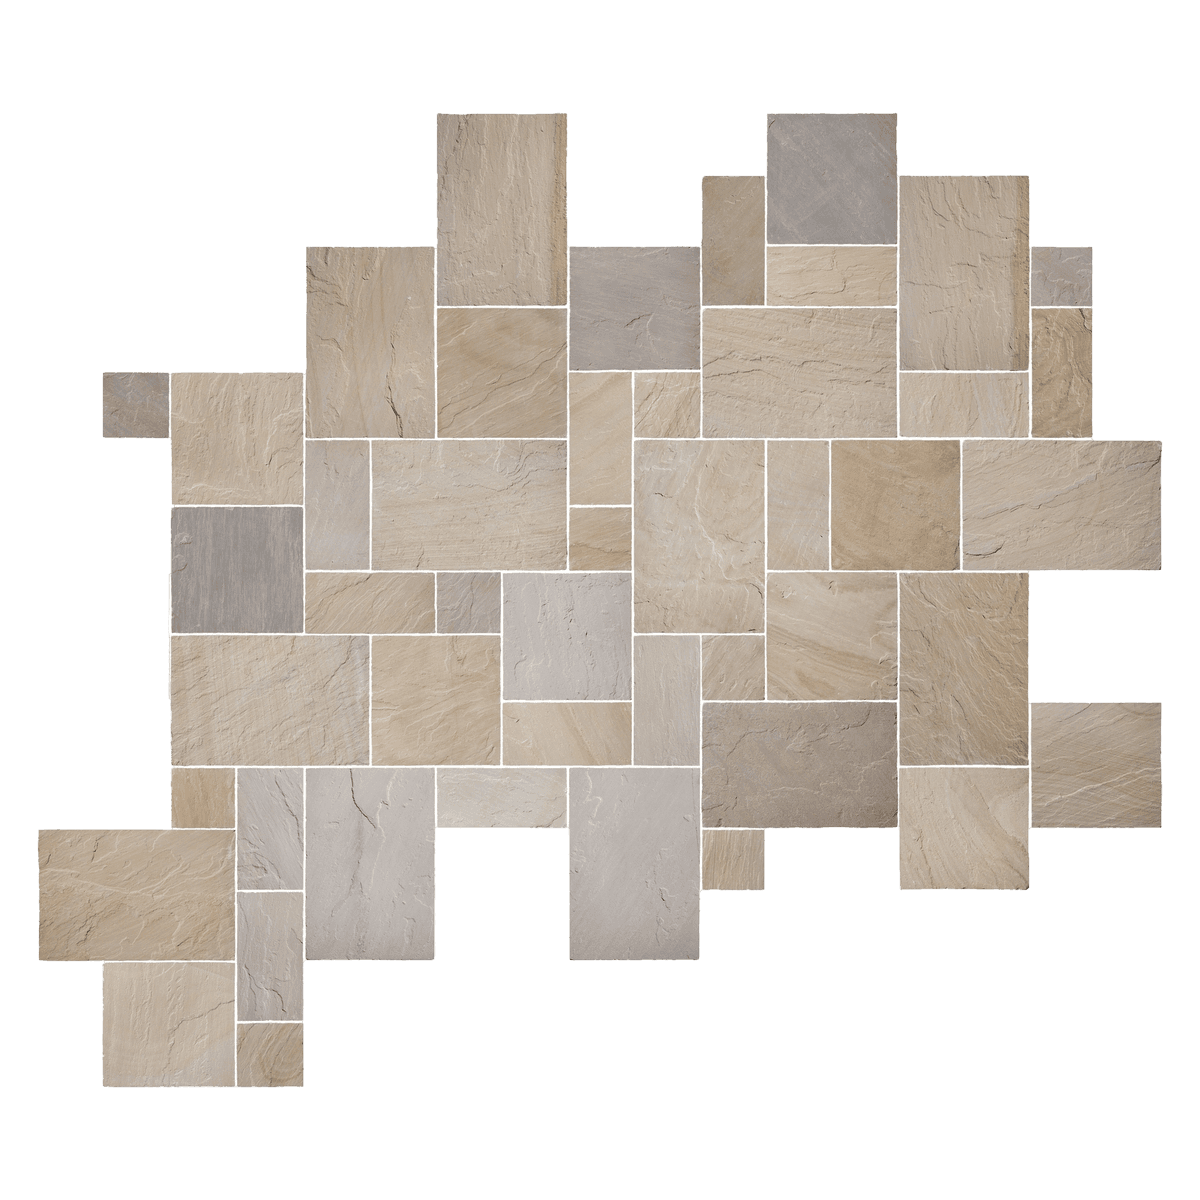
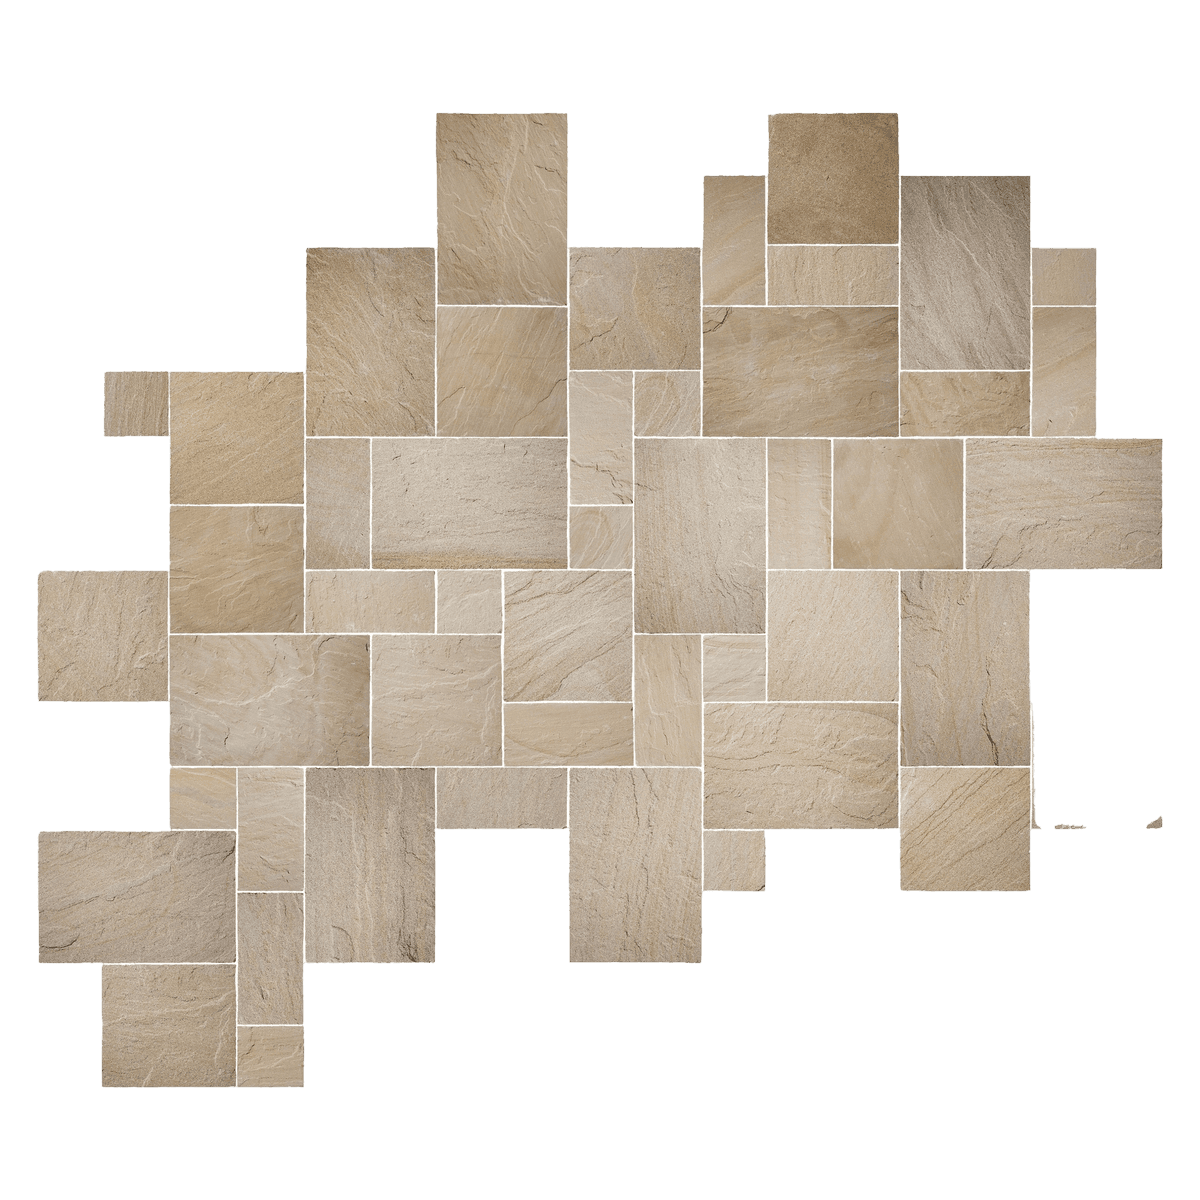
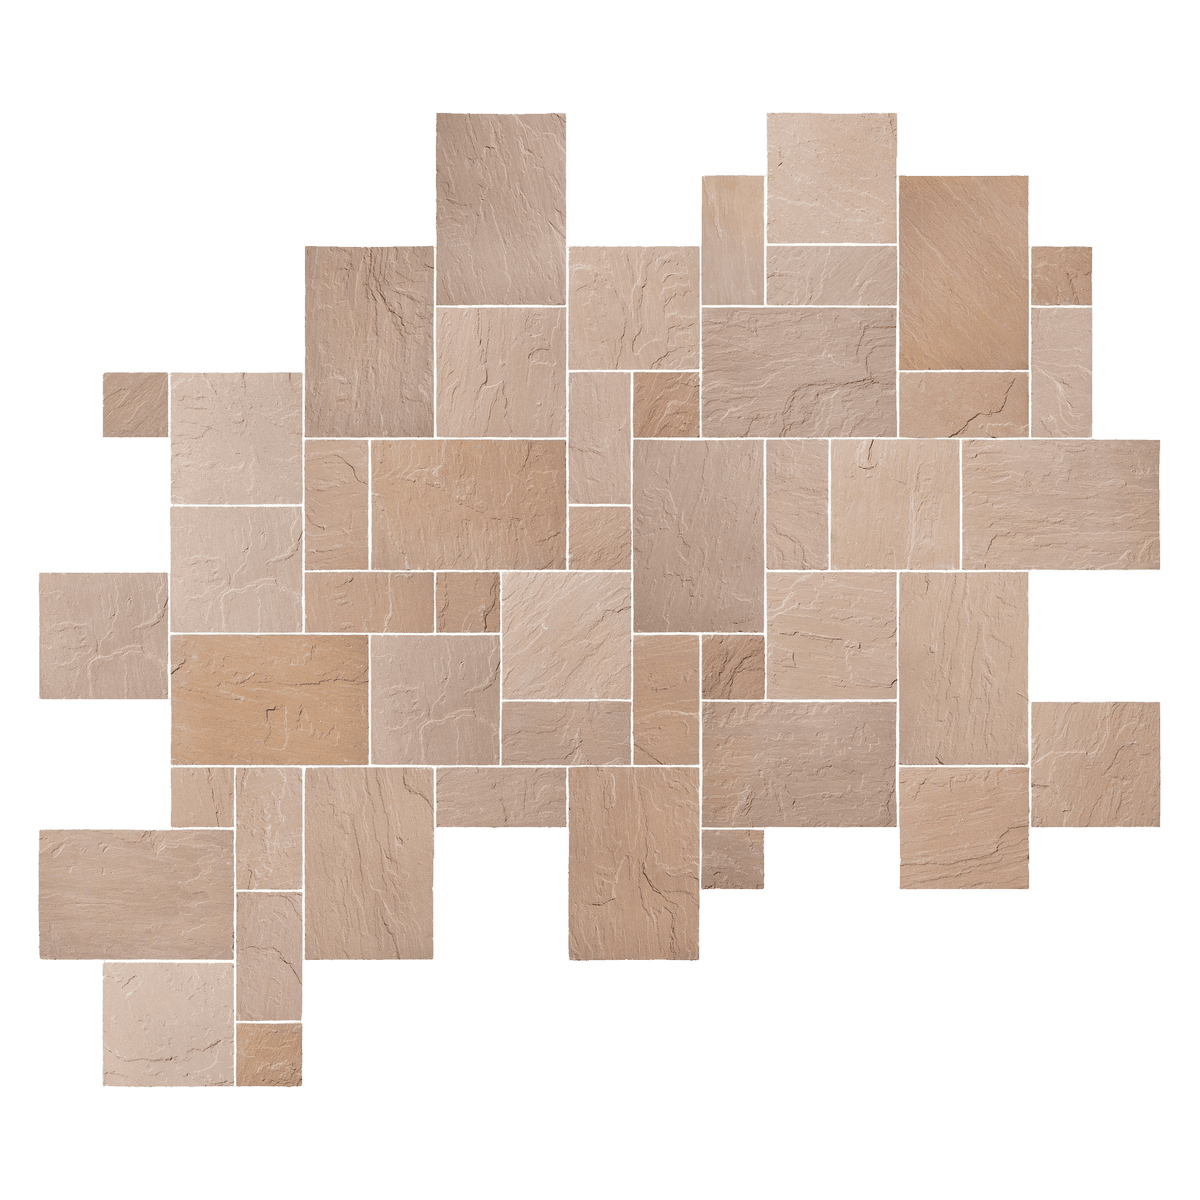
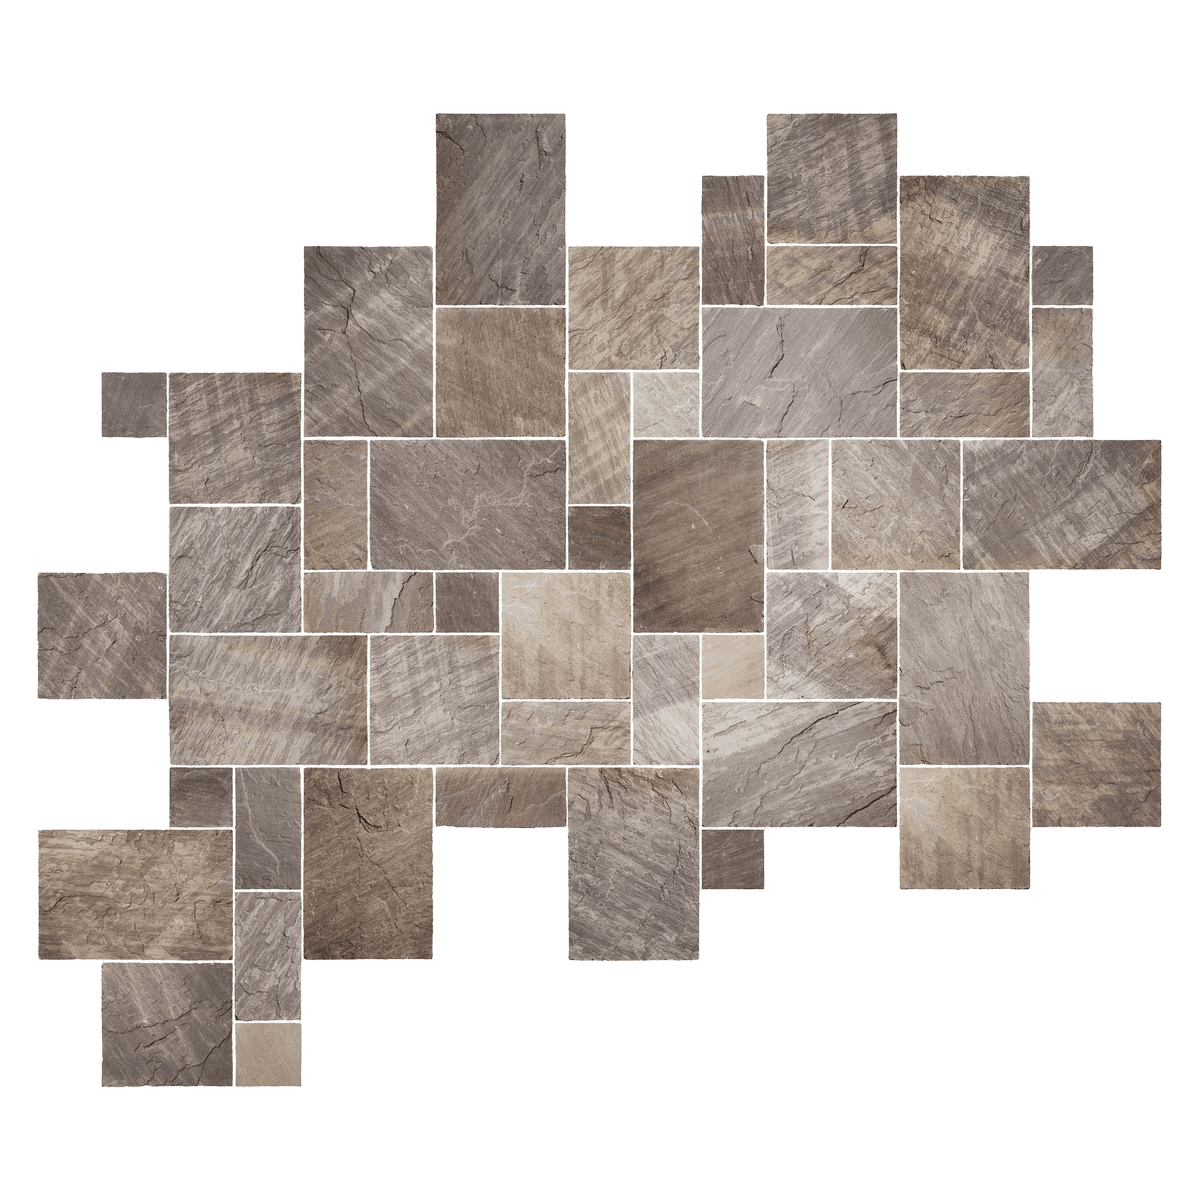
Our sandstone paving is a premium natural stone, meticulously hand-selected and hand-cut to a 22mm thickness. It’s our most popular range, prized for its wide variety of colours and sizes. Featuring a gently riven texture and distinctive natural variations in tone and veining, each piece’s unique character creates a stunning, harmonious blend across your paved area.
Laying guidelines
1. CHECK YOUR PRODUCT
Before any work is carried out, each piece of natural stone should be inspected, both wet and dry, prior to laying as pieces will vary. No returns can be accepted once the product is installed, so it is important to confirm you are happy with your product before proceeding. When work begins, ensure the area is cleared of all vegetation and debris. Then, ideally using a scaled drawing of your planned area, you can start plot pointing by marking out the space using pegs and a string line.
2. PREPARE YOUR BASE
Dig the ground to a depth of approximately 150mm below the finished patio level (or 200mm deep below the finished driveway level), making sure the soil is compact.
3. LAY YOUR HARDCORE
In the now excavated area, spread a layer approximately 100mm deep of hardcore (or 150mm deep for driveways). Remember to leave room for the thickness of the flags and 30-50mm of mortar. Compact the layer of hardcore thoroughly, ideally using a plate compactor. Foundations must not be laid on water saturated ground as they may sink in time, creating uneven paving. Extra drainage may be required.
4. LAY YOUR SLABS
Once happy with the layout, using your line and pegs as a reference, you can start laying your flags down on a full bed of slightly wet mortar mix 30-50mm deep. For the mortar mix we advise 1 part cement to 5 parts sharp sand (some contractors use a 50/50 mixture of building and sharp sand). All products must be laid on a full bed of mortar, especially when laying a driveway. A full bed of mortar is key to help reduce moisture transparency or discolouration, as well as to provide a solid base for the patio. An SBR bonding agent is an adhesive, waterproof barrier that should be used to help the slabs adhere to the mortar bed and can be used in conjunction with our Slurry Primer. Only requires water to mix, see page 146 for details, (or a Slurry Primer mix using cement powder, water and an outdoor based SBR bonding agent to a creamy consistency) that is to be painted onto the back of each slab with a thickness of 1-2mm before laying when using natural stone (see overleaf for specific advice on laying porcelain). Use a rubber mallet to gently tap down the flags and a spirit level to check the patio is uniformly level, being careful to check you follow your slope level as you go along. To provide suitable run-off during wet weather, a fall angle must be considered. Falls must be angled away from buildings or structures at an incline of 1:60 or steeper. An adequate drainage outlet source should be present at the end of the patio’s run off edge. A planning officer may need to be consulted for further advice. It is important to note that Global Stone products are not designed to be butt jointed, and a suggested joint of approx 10mm should be used. For products with an aged finish we suggest to increase the joint size accordingly in order to accommodate for any potential variations in edges (between 15 - 20mm approx).
5. CUTTING NATURAL STONE
Once the main area of the patio is laid down and there are slabs that need cutting, in the case of natural stone a disc cutter with a suitable attachment or a hammer and chisel is needed to shape your flags effectively (please see our porcelain laying advice overleaf for specific guidance on cutting porcelain tiles). Once happy with the shapes of the now cut flags, you may lay them down (refer to step 4) on a full bed of slightly wet mortar mix. Using a rubber mallet, gently tap down the flags and use a spirit level to check for a uniform flatness (taking into account a fall).
6. CHECK YOUR JOINTS
Once the patio has been fully laid, ideally allow a few days for the mortar to set. There are several ways of sealing the joints between paving slabs – the installer must determine the most appropriate method to use. Some use a cement based mortar mix and so create a solid, inflexible joint. Others use a modern jointing compound that brushes in and hardens with contact with the air, commonly known as paving jointing compound. See the porcelain laying guide overleaf for specific porcelain laying instructions. When using any jointing products always follow manufacturer’s instructions.
Before any work is carried out, each piece of natural stone should be inspected, both wet and dry, prior to laying as pieces will vary.